How to Connect Domain to Hosting: Step-by-Step Tutorial for Beginners
Why Connecting Your Domain to Hosting Matters
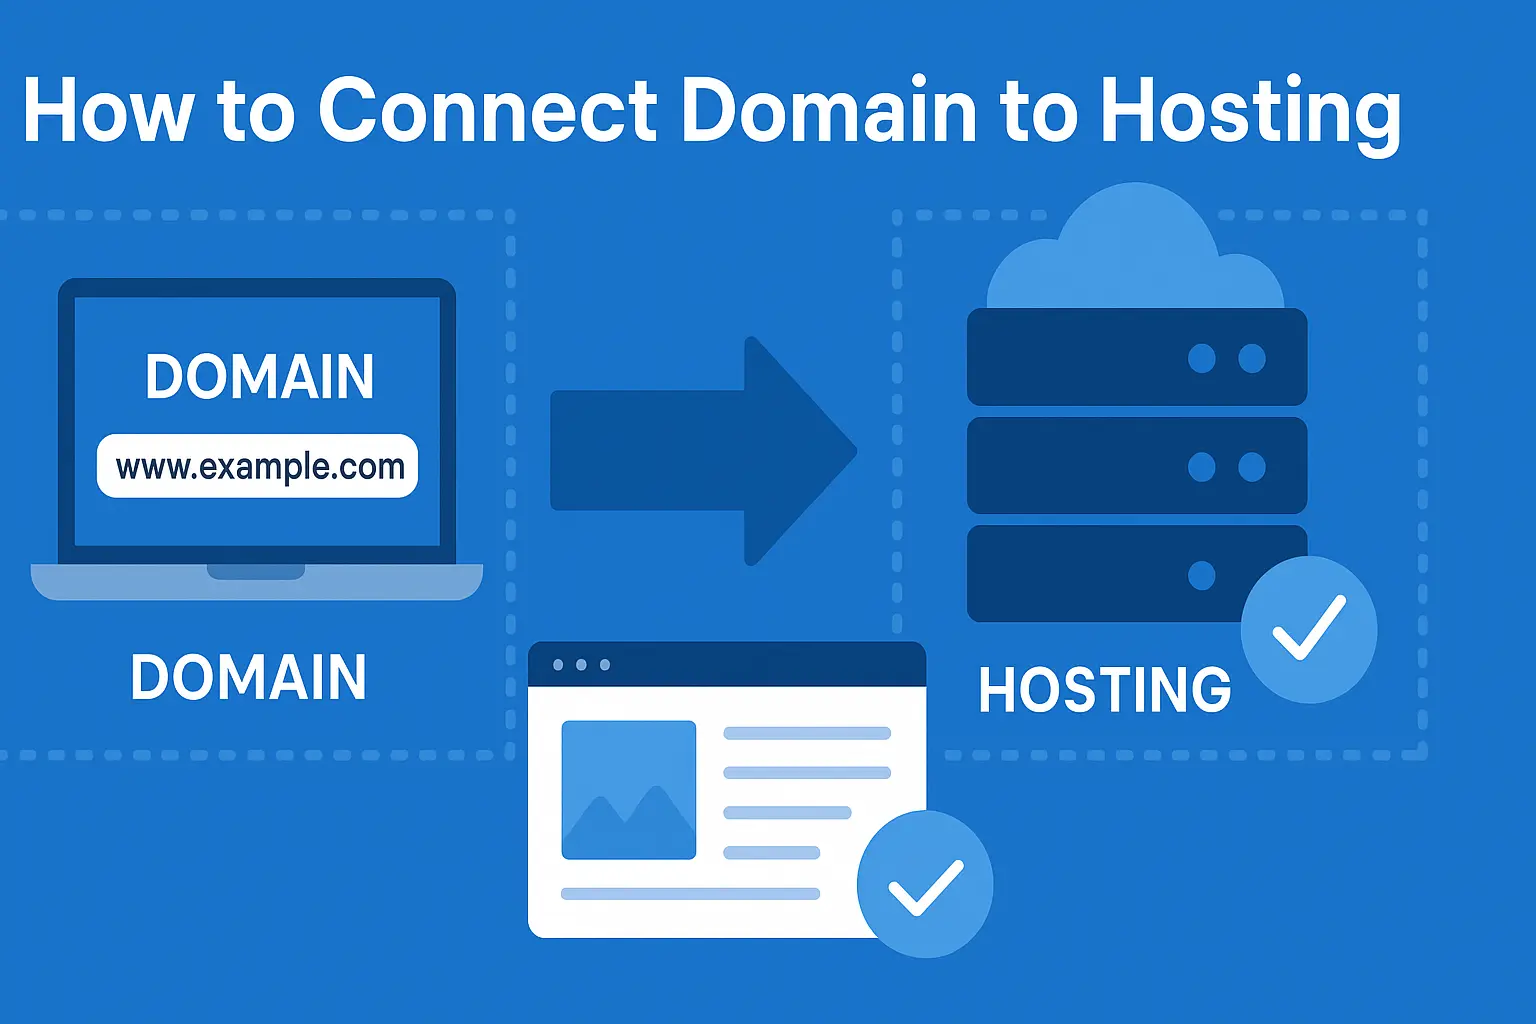
Every website — whether it’s a personal blog, an online shop, or a business portfolio — starts with one essential connection: linking your domain to your web hosting.
Without this link, your site remains invisible. Your domain name is your address, and your hosting is the home where all your website files live. Connecting them ensures that when visitors type your web address, your site loads properly.
If you’re new to domains and hosting, read our detailed post on What is Domain and Hosting 2025 before continuing. Once you understand the basics, this guide will walk you through how to connect domain to hosting—step by step.
Before You Begin: What You’ll Need
Before connecting your domain, make sure you have these details ready:
Domain registrar login — (e.g., GoDaddy, Namecheap, Google Domains)
Web hosting account login — (e.g., Hostinger, Bluehost, SiteGround)
Your hosting provider’s name servers — usually two records like:
ns1.hostingprovider.comns2.hostingprovider.com
Once you have this information, you’re ready to begin.
Step-by-Step: How to Connect Domain to Hosting
Step 1: Log in to Your Domain Registrar
Head to your domain registrar’s website and sign in to your account. Locate your purchased domain name under My Domains or Domain Management.
Step 2: Open DNS or Name Server Settings
Inside your domain settings, look for an option such as:
“DNS Settings”
“Manage DNS”
“Custom Name Servers”
This is where you’ll connect your domain to your hosting provider by updating name servers.
Step 3: Replace Default Name Servers
Delete your current (default) name servers and replace them with the ones provided by your hosting provider.
For example:
Once done, click Save or Apply Changes.
Step 4: Wait for DNS Propagation
After saving, the connection between your domain and hosting begins to update globally — this is called DNS propagation.
Propagation can take anywhere from 30 minutes to 48 hours, depending on your internet service provider (ISP) and location. During this period, your website may be temporarily inaccessible.
Verifying That Your Domain Is Connected
Once propagation is complete, you can verify your domain connection using these methods:
DNS Checker Tool: Visit dnschecker.org and enter your domain. If your hosting name servers appear globally, the connection is successful.
Hosting Dashboard: Many hosts (like Hostinger and Bluehost) have status indicators showing whether your domain is properly connected.
Troubleshooting Common Domain-Hosting Issues
Even if you follow the steps carefully, issues can occur. Here’s how to fix them:
| Issue | Possible Cause | Solution |
|---|---|---|
| Website not loading | DNS propagation still in progress | Wait up to 48 hours and clear your browser cache. |
| Incorrect name servers | Typos or missing entries | Double-check spelling and save again. |
| “Server not found” error | Wrong DNS record or expired domain | Ensure your domain is active and records match hosting provider details. |
How to Connect Domain to Hosting on Popular Platforms
1. Connecting via Hostinger
Go to your Hostinger account dashboard.
Copy the name servers listed under DNS Zone.
Paste them into your domain registrar’s name server settings.
2. Connecting via Bluehost
Log in to your Bluehost account.
Navigate to Domains → Manage.
Copy the name servers and update them in your registrar’s DNS section.
3. Connecting via GoDaddy
From your GoDaddy dashboard, select My Domains → Manage DNS.
Choose Custom Name Servers and enter the ones from your hosting provider.
Save changes and wait for propagation.
4. Connecting via Namecheap
In your Namecheap account, go to Domain List → Manage → Advanced DNS.
Replace the default name servers with your hosting provider’s ones.
Click Save.
Advanced DNS Configuration (Optional)
For more advanced setups (like custom email or CDN integration), you can add or modify specific DNS records:
A Record: Points your domain directly to your hosting server’s IP address.
CNAME Record: Used for subdomains (like
blog.yourdomain.com).MX Record: Handles email delivery.
💡 Pro Tip: Use Cloudflare to manage your DNS for better speed, global CDN, and free SSL encryption. It simplifies complex DNS management and protects your site from DDoS attacks.
How Long Does It Take to Connect Domain to Hosting?
Typically, it takes 30 minutes to 48 hours for global propagation. Some hosting providers (like Hostinger) process it faster, while others depend on your ISP’s DNS caching policies.
If it’s been over 48 hours and your site still isn’t loading, try:
Clearing browser and DNS cache.
Checking propagation status via DNS Checker.
Contacting your hosting support for manual verification.
Best Practices for a Smooth Domain-Hosting Connection
Always double-check name server spelling before saving.
Don’t switch DNS providers frequently unless necessary.
Use trusted hosting and domain providers to avoid downtime.
Keep both your domain and hosting renewed on time.
Enable SSL (HTTPS) after connection for better security and SEO ranking.
FAQs: How to Connect Domain to Hosting
Q1. Can I connect a domain and hosting from different companies?
Yes. You just need to update your domain’s name servers with the details from your hosting provider.
Q2. What happens if I enter the wrong name servers?
Your website won’t load until you correct them. Updating the right name servers fixes it quickly.
Q3. Do I need to connect subdomains separately?
Yes, subdomains use DNS records like A or CNAME to point to your hosting.
Q4. Can I connect multiple domains to one hosting account?
Yes. Most hosting providers allow adding “Add-on Domains” under your control panel.
Q5. How do I secure my domain after connecting it?
Enable SSL, turn on two-factor authentication, and use a strong registrar password.
Q6. How do I know when DNS propagation is complete?
Check your domain on dnschecker.org. Once your new name servers appear in all regions, it’s done.
Conclusion: Your Website Is Live and Ready
Congratulations! 🎉 You’ve successfully learned how to connect domain to hosting and make your website live.
By correctly setting your name servers and verifying propagation, you ensure your site is accessible globally.
To understand the foundational concepts behind domains and hosting, visit our full guide.
Now you’re ready to go live, set up SSL, and start building your online presence with confidence. 🌐